 Save
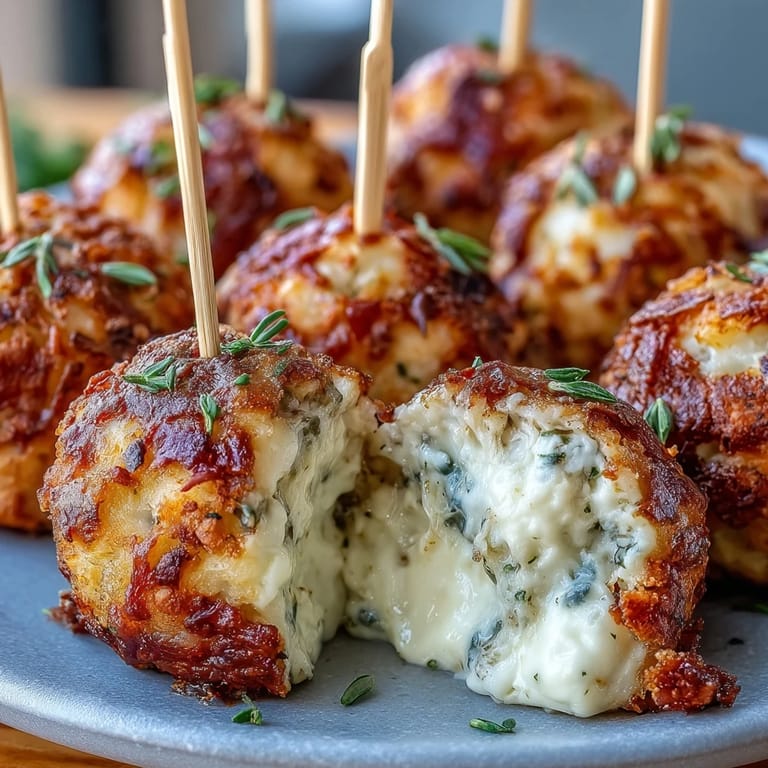
Save There was something electric about my kitchen on the morning of the Derby—music drifting, the sun catching the flour dust in the air, and me, up to my wrists in cheddar-speckled dough, sneaking little tastes as I went. Making these Olive Cheese Balls started out as a last-minute solution for a crowd, but the little ritual of rolling each ball quickly became its own quiet fun. The sound of sharp cheddar grating and the briny snap of pitted olives gave the room an energy that felt contagious—no one could resist hovering close, waiting for a warm, golden taste. I wouldn’t say I won bets that day, but these nibbles certainly stole the show from the rest of the spread. Who knew a simple appetizer could set the tone for an entire party?
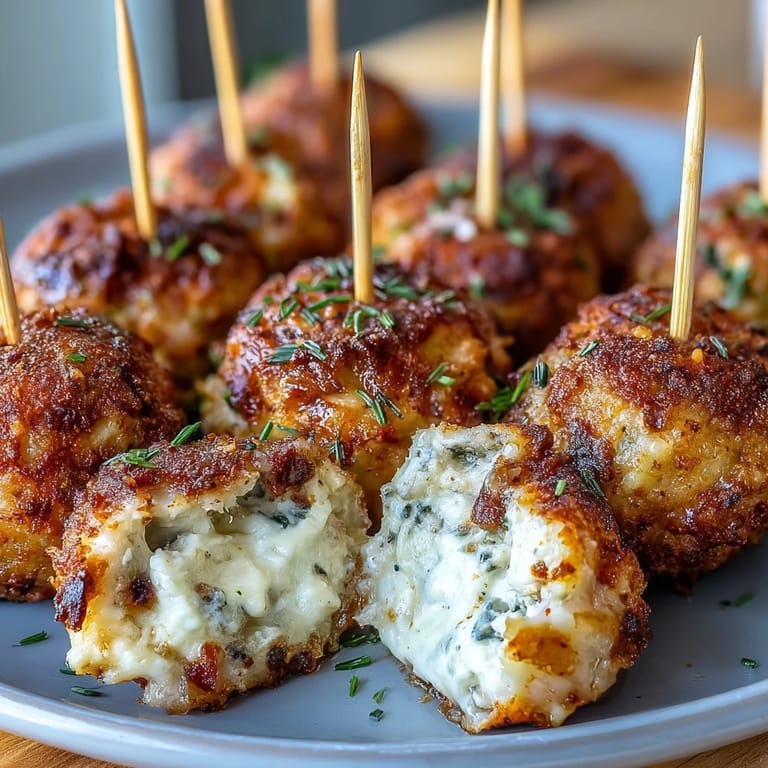
I’ll never forget handing these out on colorful skewers as my friends debated which hat was the finest and someone hollered at the TV about a favorite horse. Between the laughter and the ice rattling in mint juleps, these warm, cheesy bites vanished so fast I barely got one myself. Sometimes the best kitchen moments are the most chaotic—the sound of the oven timer in the middle of all that happy noise just made everything feel right.
Ingredients
- All-purpose flour: Makes the dough sturdy and easy to seal around each olive—scoop with a light hand and don’t pack it down too much.
- Sharp cheddar cheese, shredded: For bigger flavor, grate it yourself instead of buying pre-shredded; it melts more evenly.
- Unsalted butter, softened: Soft butter blends right in with the cheese and flour, giving a rich bite to every ball.
- Cayenne pepper (optional): A pinch adds quiet heat, but leave it out if you prefer a milder snack.
- Smoked paprika: Gives a whisper of smokiness and gorgeous color that makes each bite feel special.
- Salt: Just enough to pull the briny olives and nutty cheese together.
- Large green olives, pitted: The star of every bite—make sure they’re well drained, and pat them dry to prevent soggy dough.
- Appetizer-sized skewers or toothpicks: Not just for looks—these make serving (and snacking) a breeze.
Tired of Takeout? 🥡
Get 10 meals you can make faster than delivery arrives. Seriously.
One email. No spam. Unsubscribe anytime.
Instructions
- Get Set Up:
- Crank the oven to 400°F (200°C) and line your baking sheet with parchment—this will save you from any sticky surprises later.
- Make the Dough:
- In a medium bowl, combine flour, cheddar, butter, cayenne, paprika, and salt; use your hands to mix until you’re left with a malleable, golden dough.Joyful messiness is encouraged.
- Divide Evenly:
- Pat the dough into a rough rectangle and cut into 24 equal pieces—aim for about a tablespoon each, but don’t stress if a few are rustic.
- Wrap the Olives:
- Take each dough piece and flatten it gently in your palm; plop a green olive in the center, then carefully fold and seal the dough around it, rolling into a ball.
- Prep for Baking:
- Line the balls up on your prepared baking sheet, then pop them in the fridge for 10 minutes if you want extra tidy results.
- Bake:
- Slide the tray into the oven for 16–18 minutes until the balls are golden, cheesy, and your kitchen smells like heaven.Let them cool for about 5 minutes so nobody burns their fingers.
- Skewer and Serve:
- Thread each warm cheese ball on a mini skewer or toothpick, then arrange them on a platter and watch them disappear—best enjoyed immediately but still delicious at room temp.
 Save
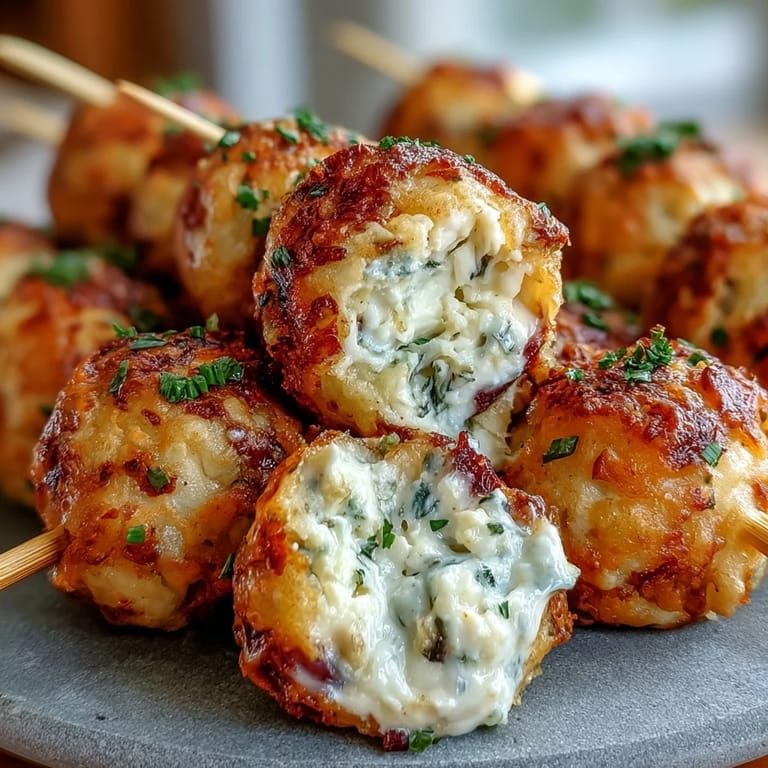
Save It’s funny how these cheese balls became a party tradition—a friend once called them the "Derby disappearers" and now requests them for every gathering, no matter the season. Sometimes, a bite-sized snack is all it takes to turn casual company into a mini celebration.
Choosing Your Olives Matters
Not all olives are created equal—some are extra briny, some stuffed with different things, and each can totally change the vibe. Spanish Manzanilla are my favorite for their classic tang, but I’ve used jalapeño-stuffed ones on a whim for a bit of a kick, and it was a happy accident the crowd loved.
Making Cheese Dough In Advance
If you like to get ahead (or just want less day-of mess), the cheese dough holds up beautifully wrapped in plastic in the fridge overnight. Let it rest at room temp for 20 minutes before using so it softens and is easy to shape around those olives.
Serving and Leftover Wisdom
These cheese balls are amazing fresh out of the oven, but I’ve found they keep their magic even if made a few hours earlier—just reheat briefly to refresh the crust. And don’t toss leftovers: a minute or two in a toaster oven brings them back to snacking life.
- Sprinkle a pinch more smoked paprika on top before baking for extra color.
- Pair with grainy mustard or a quick honey dip for an unexpected twist.
- If you double the recipe, just use two baking sheets and rotate positions halfway through baking.
 Save
Save If you try these at your next bash, here’s hoping they vanish as quickly as they always do for me. Little, golden cheese bombs—sometimes it really is the simple things that steal the spotlight.
Recipe FAQs
- → What cheese works best?
Sharp cheddar gives a salty, tangy backbone and melts into a cohesive dough. For variation, try a mix of sharp cheddar and aged Monterey Jack or a firmer young cheddar to keep structure without excess oiling.
- → How can I prevent olives from leaking?
Pat pitted olives dry before enclosing, seal dough seams tightly and chill shaped balls for 10 minutes on the baking sheet to help maintain shape and reduce leakage during baking.
- → Can these be prepared ahead of time?
Yes. Shape and refrigerate unbaked balls for up to 24 hours, or bake and cool, then store in an airtight container for 2–3 days. Reheat in a warm oven to refresh exterior crispness.
- → Which olives are recommended?
Spanish Manzanilla or Castelvetrano-style green olives work well for a mild, briny center. For bolder notes try jalapeño-stuffed or Kalamata halves, adjusting salt if using stronger varieties.
- → What oven temperature and timing give the best crust?
Bake at 400°F (200°C) for 16–18 minutes until golden and firm. The higher heat encourages a quick set and golden color without drying the interior.
- → What pairings or dips complement these?
Serve with grainy mustard, a bourbon-honey dip, or spicy mayo. Fresh herbs, coarse salt, or a smear of whole-grain mustard on the skewer enhance flavor contrast.